Table of Contents
ToggleKnocking down walls between the kitchen and living room remains one of the most requested home remodels, and for good reason. An open concept layout can make a home feel larger, brighter, and more connected, turning cramped, divided spaces into one flowing area ideal for modern living. But it’s not as simple as swinging a sledgehammer and calling it a day. Load-bearing walls, HVAC routing, electrical codes, and design cohesion all need careful planning. This guide walks through what an open concept really entails, the benefits it delivers, smart design strategies to unify the space, common pitfalls to avoid, and practical furniture layouts that make the most of the new footprint.
Key Takeaways
- An open concept kitchen and living room requires careful structural planning, including engineer-approved load-bearing wall replacement with beams, permits, and electrical or HVAC rerouting before demolition begins.
- Open concept designs maximize natural light, improve entertaining flow, and make spaces feel larger while allowing flexible furniture arrangements that adapt to modern family lifestyles.
- Unified design through consistent flooring, cabinetry, color palettes, and hardware creates visual cohesion and prevents the kitchen and living room from feeling disjointed in an open layout.
- Manage common open concept challenges—cooking odors, noise amplification, and visual clutter—with high-CFM range hoods, sound-absorbing materials, and full-overlay cabinets with solid doors.
- Strategic furniture placement using island-centric designs, properly-sized sectionals, and multi-functional pieces, combined with painter’s tape mock-ups, ensures the open concept layout supports both daily routines and entertaining.
- Plan for 42–48 inches of clearance around kitchen islands and 36 inches around dining tables, and always verify building permits and inspection requirements before beginning the remodel.
What Is an Open Concept Kitchen and Living Room?
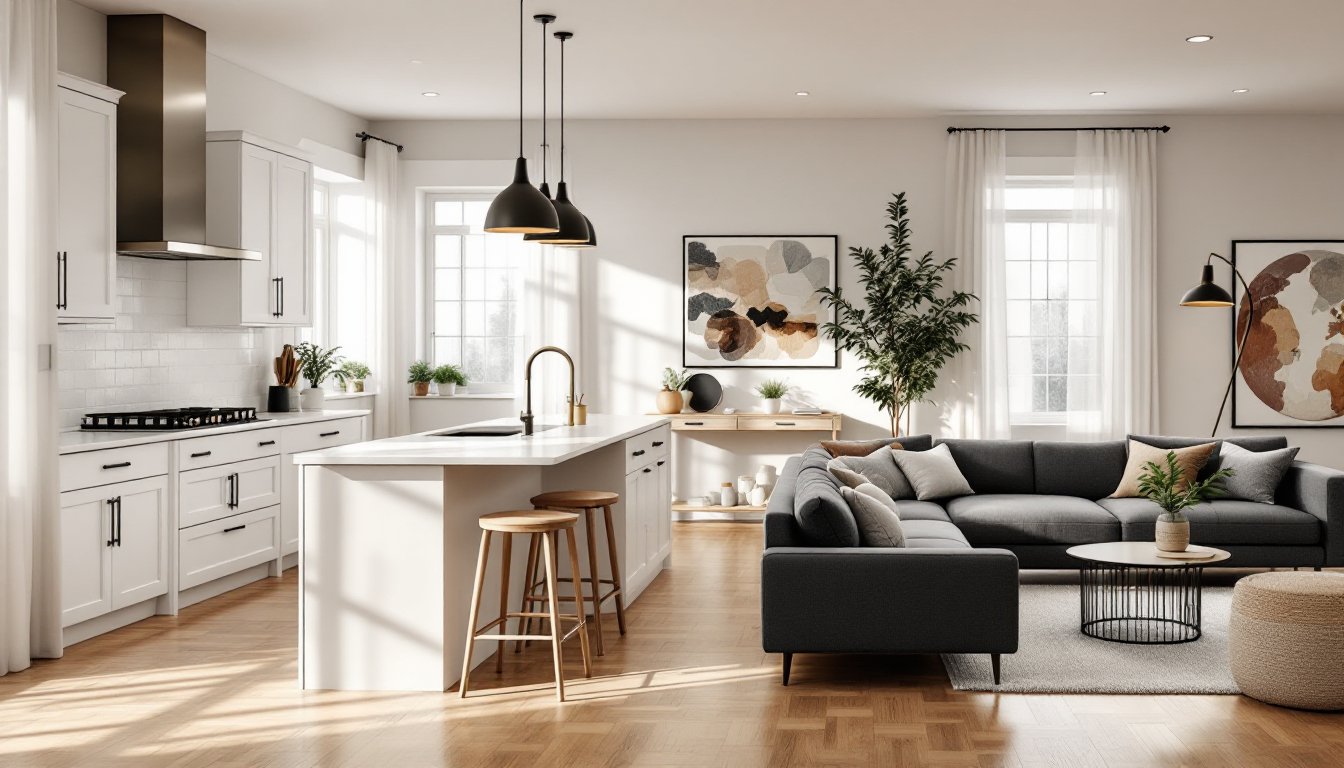
An open concept kitchen and living room removes the full-height walls that traditionally separate cooking and gathering areas, creating one continuous space. Instead of isolated rooms, sight lines extend from the stove to the sofa, making the home feel larger and more social.
This layout became popular in the mid-20th century and surged again in the 1990s and 2000s. Today’s versions often keep structural support in place, posts, beams, or partial walls, while eliminating visual barriers. The kitchen island frequently replaces the wall, serving as both a work surface and informal boundary.
Load-bearing considerations are critical. If the wall being removed supports the floor or roof above, it must be replaced with a properly sized beam (often an LVL or steel I-beam) resting on posts or columns. This requires an engineer’s calculations and a building permit in most jurisdictions. Non-load-bearing walls are easier to remove but still need permits if they contain plumbing, electrical, or HVAC runs.
Don’t assume a wall is non-structural just because it runs parallel to floor joists. Always consult a structural engineer or experienced contractor before demo begins. Skipping this step can result in sagging ceilings, cracked drywall, or worse, catastrophic failure.
Benefits of Combining Your Kitchen and Living Room
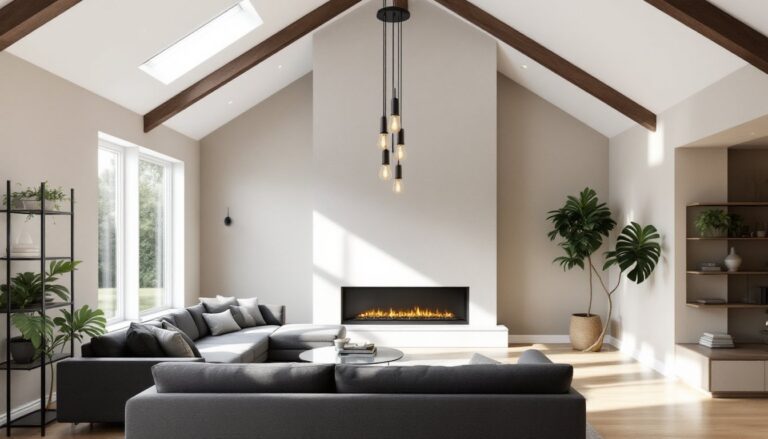
Improved sight lines and natural light top the list. Removing a wall allows windows from multiple exposures to light the entire space. A kitchen that once felt dim and boxed-in suddenly benefits from living room windows, and vice versa.
Better flow for entertaining is another major draw. The cook isn’t isolated from guests: conversation and line of sight continue uninterrupted. This setup works well for families with young children, too, parents can prep dinner while keeping eyes on kids in the living area.
Perceived square footage increases even when actual area stays the same. Eliminating visual barriers makes rooms feel substantially larger. Real estate agents often cite open layouts as a selling point, particularly in starter homes and urban condos where every square foot counts.
Flexible furniture arrangements become possible. Without doorways and walls dictating placement, homeowners can orient seating, dining, and work zones to suit their habits rather than the floor plan.
That said, open concept isn’t universally ideal. Cooking smells, noise, and visual clutter spread more easily. Households that value quiet, separated spaces for simultaneous activities (remote work calls during meal prep, for example) may find the trade-offs frustrating. Assess lifestyle needs honestly before committing to a full removal.
Design Strategies for a Cohesive Open Layout
Merging two rooms into one demands intentional design to avoid a disjointed, floating furniture effect. Zoning and material consistency are the two pillars.
Zoning Your Space Without Walls
Area rugs define zones without blocking sight lines. A large rug under the sofa and coffee table signals the living area, while the kitchen remains on hard flooring. Make sure the rug is large enough, at least the front legs of all seating should rest on it. Undersized rugs make spaces feel chopped up.
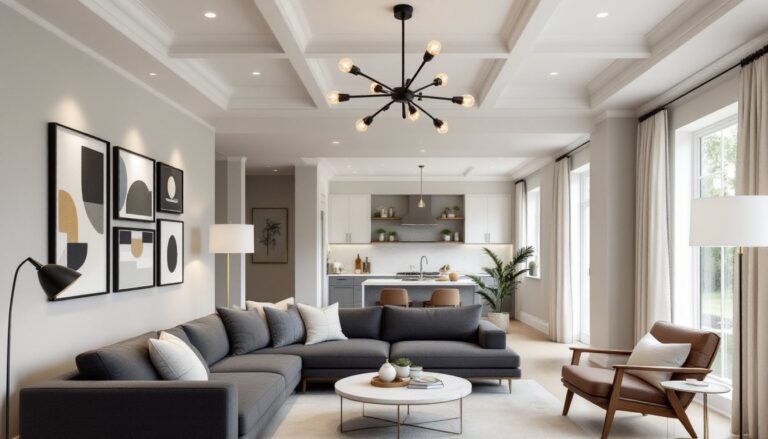
Lighting layers reinforce boundaries. Pendant lights over the island mark the kitchen zone: a floor lamp or chandelier anchors the living room. Use dimmer switches so each area can be adjusted independently, bright task lighting for cooking, softer ambient light for movie nights.
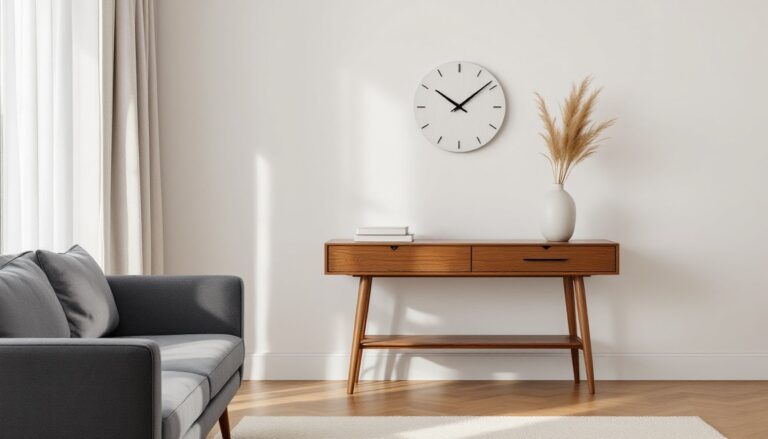
Furniture placement creates implied walls. Position the sofa with its back to the kitchen to subtly divide the spaces. A console table behind the sofa adds storage and further definition. Avoid pushing all furniture against exterior walls: floating arrangements use the open footprint more effectively.
Partial dividers, like a bookcase, half-wall with columns, or a change in ceiling height (coffered vs. flat), offer separation without full enclosure. These work well when HVAC ducts or structural beams need to remain exposed.
Choosing a Unified Color Palette and Materials
Flooring continuity is essential. Running the same hardwood, luxury vinyl plank (LVP), or tile throughout both areas visually stitches the space together. If budget requires mixing materials, keep the transition subtle, wood in the living room meeting large-format tile in the kitchen, with a low-profile transition strip at a natural break like the island edge.
Consistent cabinet and trim color prevents a jarring shift. If kitchen cabinets are white shaker style, keep baseboards and door casings white throughout. Match the finish sheen (satin, semi-gloss) on all painted woodwork.
Accent colors and textures can vary by zone but should share an undertone. A cool gray island pairs well with cool blue living room accents. Warm oak floors call for warm beige or rust tones in upholstery and décor. Clashing undertones, cool gray cabinets next to warm tan walls, create visual discord.
Hardware and fixtures benefit from repetition. Matte black cabinet pulls in the kitchen echo matte black curtain rods or picture frames in the living area. Brushed nickel faucets coordinate with brushed nickel lamps or door levers.
Common Challenges and How to Overcome Them
Cooking odors and smoke spread fast in an open layout. Install a range hood rated for at least 300 CFM (cubic feet per minute) if the cooktop is against a wall, or 400+ CFM for an island range. Ducted hoods that vent outside perform better than recirculating models. Run the hood during and 15 minutes after cooking.
Noise amplification becomes an issue with hard surfaces and no doors. Add sound-absorbing materials: upholstered furniture, heavy curtains, acoustic panels disguised as art, or a thick area rug with a quality pad. Soft-close cabinet hinges and drawer slides reduce kitchen clatter.
Visual clutter has nowhere to hide. Open shelving and glass-front cabinets look great in photos but require constant tidying. If the household isn’t naturally tidy, opt for full-overlay cabinets with solid doors. Use drawer organizers and pull-out trash bins to keep counters clear.
HVAC and electrical rerouting often surprises DIYers mid-project. Removing a wall may expose ductwork, outlets, or switches that need relocation. Budget extra time and money for running new circuits (especially if adding island outlets, which require GFCI protection per NEC 210.8) and relocating supply/return vents. Consult an HVAC tech to ensure balanced airflow after the wall comes out.
Permit and inspection delays are common. Most jurisdictions require permits for structural changes, electrical work, and sometimes plumbing. Plan for a few weeks of lead time and inspections at rough-in and final stages. Working without permits can complicate insurance claims and future home sales.
Furniture and Layout Ideas for Open Concept Spaces
Island-centric plans work well in many open concepts. A large island (at least 4 feet by 8 feet for seating on one side) serves as the kitchen’s hub and a natural divider. Add bar stools on the living room side for casual dining and conversation. Leave at least 42 inches of clearance between the island and perimeter cabinets for comfortable traffic flow: 48 inches is better if multiple cooks use the space.
L-shaped or sectional sofas anchor the living zone and create a sense of enclosure without walls. Position the sofa to face away from the kitchen or perpendicular to it, not directly toward the stove, nobody wants to stare at dirty dishes. A sectional in the corner maximizes seating while keeping pathways clear.
Dining placement depends on space and habits. If the household eats most meals at the island, a small dining table near windows or against a wall works for occasional formal meals. In larger layouts, position the dining table between the kitchen and living areas as a transitional zone. Ensure at least 36 inches of clearance around the table for pulling out chairs.
Traffic flow should allow straight paths from entries to each zone. Avoid forcing people to weave around furniture to reach the kitchen or front door. The classic work triangle (sink, stove, fridge) still applies in the kitchen, but expand thinking to include the path from the fridge to the dining/living area for drinks and snacks.
Multi-functional furniture adds flexibility. An ottoman with storage, a console table with drawers behind the sofa, or a bookcase that displays décor while hiding clutter all help an open space stay organized. Nesting tables can be pulled out when needed and tucked away to preserve floor space.
Measure carefully and use painter’s tape on the floor to mock up furniture footprints before buying. What looks proportional in a showroom can overwhelm or underwhelm in the actual space. Test different arrangements and live with the tape for a few days to see how the layout works with daily routines.